The most cut part in the country
Fence posts, railings, pergolas, gates, canopies, light framing, handrails: everything ends on a base plate. A square or a rectangle from 150 × 150 to 300 × 300 mm, in 6 to 12 mm steel, with four holes for anchors or M10 to M16 threaded rods. A metalworker makes dozens a week, and it is precisely the kind of part that was subcontracted reluctantly — too simple to pay fixed fees, too long to make cleanly by hand.
Holes: the 1.5 times rule
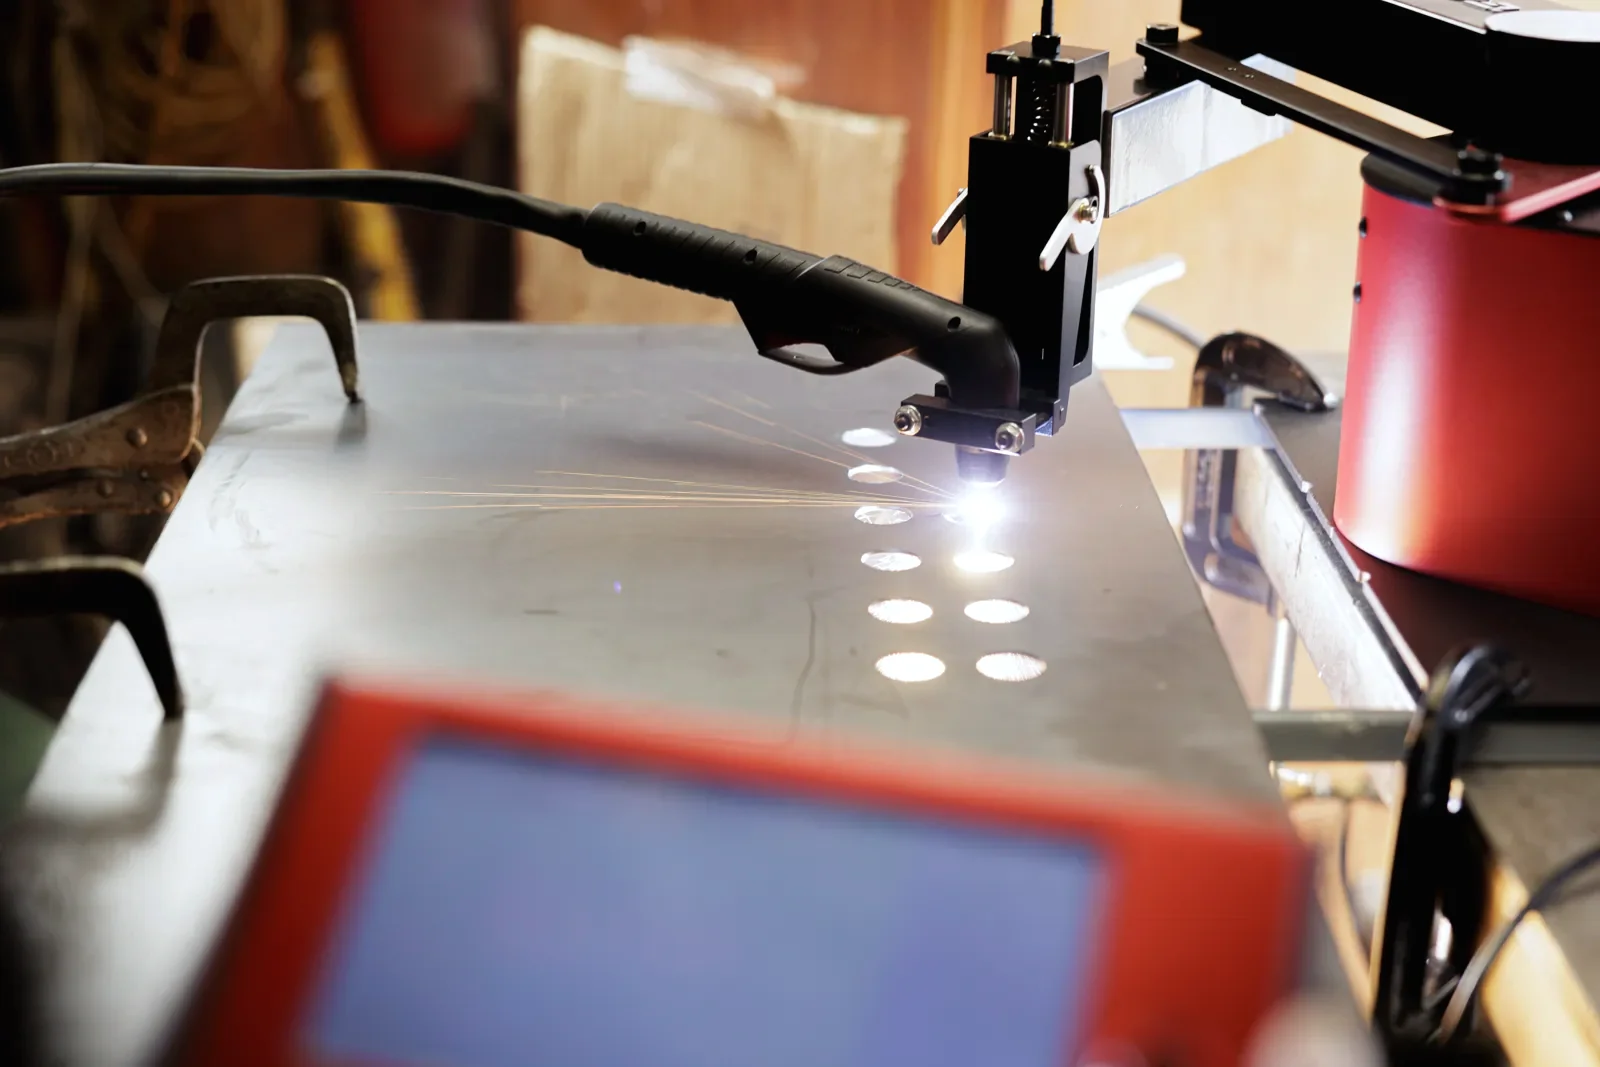
A plasma-cut hole is slightly tapered and the quality drops when it gets small compared to the thickness. Remember the rule: diameter at least 1.5 times the thickness, ideally 2 times. A 14 mm hole in 8 mm works very well; the same hole in 12 mm will be tapered, and it is better to cut at 16 or 18 mm, or to drill afterwards. For expansion anchors, a hole 2 mm oversize compared to the rod is the norm anyway: Ø14 for M12, Ø12 for M10.
Piercing starts higher than cutting, with a delay to get through, then the torch drops and follows the circle. Holes are always cut before the outer contour: once the contour is finished, the part drops or moves, and nothing is in the right place any more.
Without a file: the template and the stylus
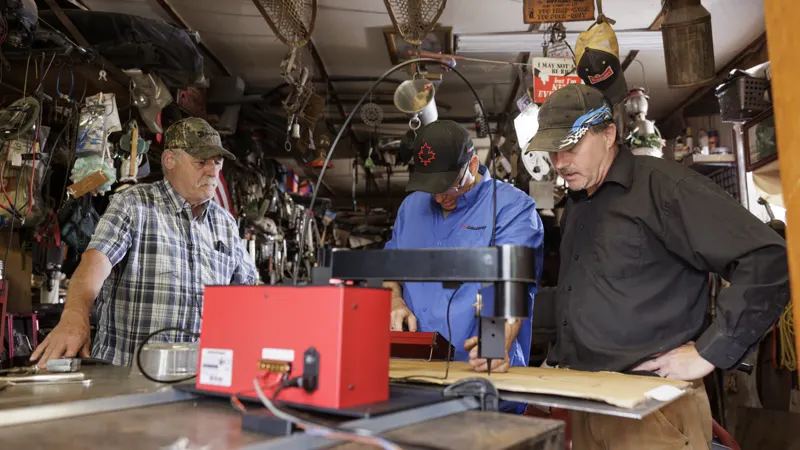
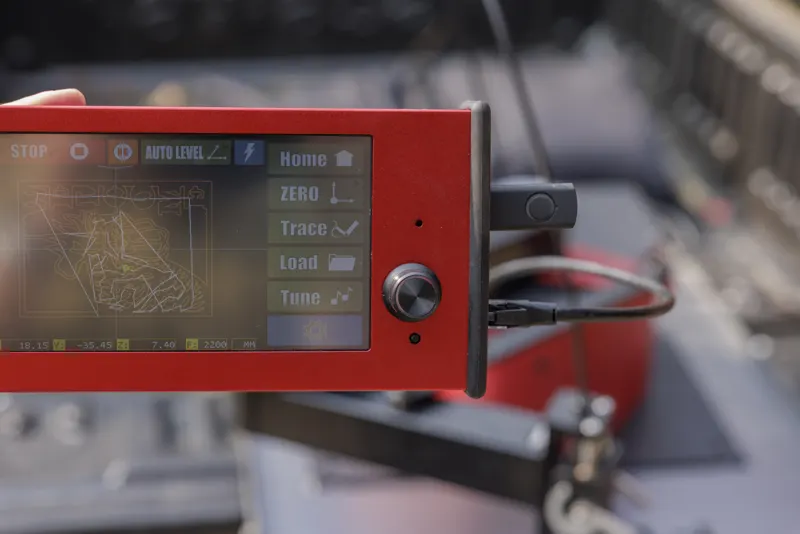
For a base plate, the file is a detour. You put the sheet under the machine, draw the part with a marker — or lay down a cardboard template, an existing plate, the broken part to replace — and follow the outline with the stylus. The four corners, the four hole centres: the machine rebuilds true straight lines and circles from a few points, applies kerf compensation and cuts. Tracing takes a minute, cutting a minute and a half. That is what the ArcDroid does with Simple Trace™, without computer or software, and it is the reason the whole workshop uses it.
With a file: a DXF you keep
For a batch or a plate repeated every month, draw it once: a rectangle, four circles, and the dimensions you will reuse. QCAD, Fusion 360 or Inkscape are enough; export as DXF with closed contours. On a 660 × 380 mm robot per position, you fit three 200 × 200 plates or six 150 × 150 in one sheet; with the X2 module, a 1,200 mm strip chains nine. Leave 10 mm between parts: enough for the kerf and for the skeleton to hold.
Cut order and kerf
The kerf is 1 to 2 mm depending on the nozzle; the machine offsets the torch by half a kerf outwards on the contour and inwards on the holes. Each contour starts with a small lead-in, pointed towards the centre for a hole and towards the scrap for the contour, so that the pierce mark does not appear on the finished edge. After the first part, measure with a caliper: hole spacing, plate side, diameter. If the hole is 0.5 mm small, it is not the machine, it is the compensation: adjust it once and the batch comes out right.
Deburring, galvanising, welding
A fine dross forms under the part; it comes off with a scraper or one pass of a flap disc. Chamfer the holes lightly, the anchor will go in straight. For hot-dip galvanising, the plate has no closed cavity, so no problem — but the zinc shrinks the holes by a few tenths: cut to the next diameter up. To weld the post, grind the weld area down to bright metal: the plasma edge carries a thin oxide layer that hampers arc starting and causes porosity.
- Typical plate: 200 × 200 × 8, 4 holes Ø14 at 150 mm centres
- About 1 m of cutting and 5 pierces: a little over a minute of arc at 45 A
- Holes: diameter ≥ 1.5 × the thickness, cut before the contour
- After the first part: caliper check, compensation adjustment, then the batch